|
|
|
|
Getting Started with Clarinet-System
Step 1: PC installation
Step 2: Automatic Clarinet LoaderSuccessful Loading with a single Clarinet unit
|
 |
 |
Clarinet Program
![]()
The Clarinet Manager Dialog provides access to the Clarinet Wizard. It allows to build a test by creating a Profile from a list of templates under New input:
| |
 |
At the end of the selection, the profile and the filter are saved in the directory selected under directory input (default is \Clarinet\Cladata).
Connecting the interface under test: using the connection specifications (see List_connections.htm)The Clarinet Manager Dialog allows to launch a test by selecting a Profile from a list under Run input. The Clarinet Manager opens a new Dialog-box, the Manager Command box, providing access to the manual commands of the Manager:
| |
 |
When the profile is under execution, the cursor set on the windows of the
Clarinet-manager displays an animated symbol of the running ![]()
The Manager opens simultaneously a second windows for the Clarinet Protocol Event-Editor: the title displays the event-file name (*.ace) and the filter file name (*.acf).
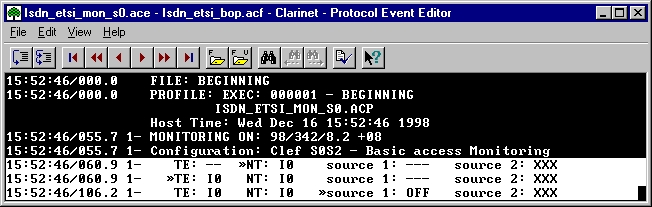
The execution of the profile is stopped by clicking on ![]()
The Manager closes simultaneously the second windows of the Clarinet Protocol Event-Editor if the Event-Editor scrolling is ON.
The Manager saves automatically the events in the event-file.
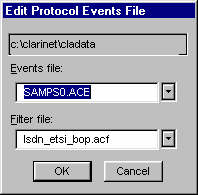
When the test is finished, the events can be edited off-line by use of Clarinet Event-Editor.The panel Edit Protocol Event file accessed by Events/Open Protocol or ![]() allows to specify the file names.
allows to specify the file names.
 |
 |
The toolbar or navigation keys provides the way to move in the event-file.
The edition is stopped by the File/Exit command.
The Clarinet Help is provided under HTML format. The user should use Internet explorer to display the help pages about the Clarinet-system.
![]()
|
home Quick start Specifications Connections Features How to? Notes Search Site Map updated: 27-Feb-04 |